
APPLE MAIL
SETUP GUIDE · MACOS
Apple Mail follows web standards closely. The one thing to watch is how it treats fonts and dark mode.
Go to the steps
- 01 Connect
- 02 Design
- 03 Roll out
- 04 Send
Three things
and you are ready.
Your signature is built
Finish it in the builder before you start here.
Copied as rich HTML
Use “Copy signature”, not plain text copy.
Know which account
Signatures are assigned per account in Apple Mail.
Five steps.
Once per person.
Nothing is installed and nothing runs in the background. You copy a signature and paste it where Apple Mail keeps it.
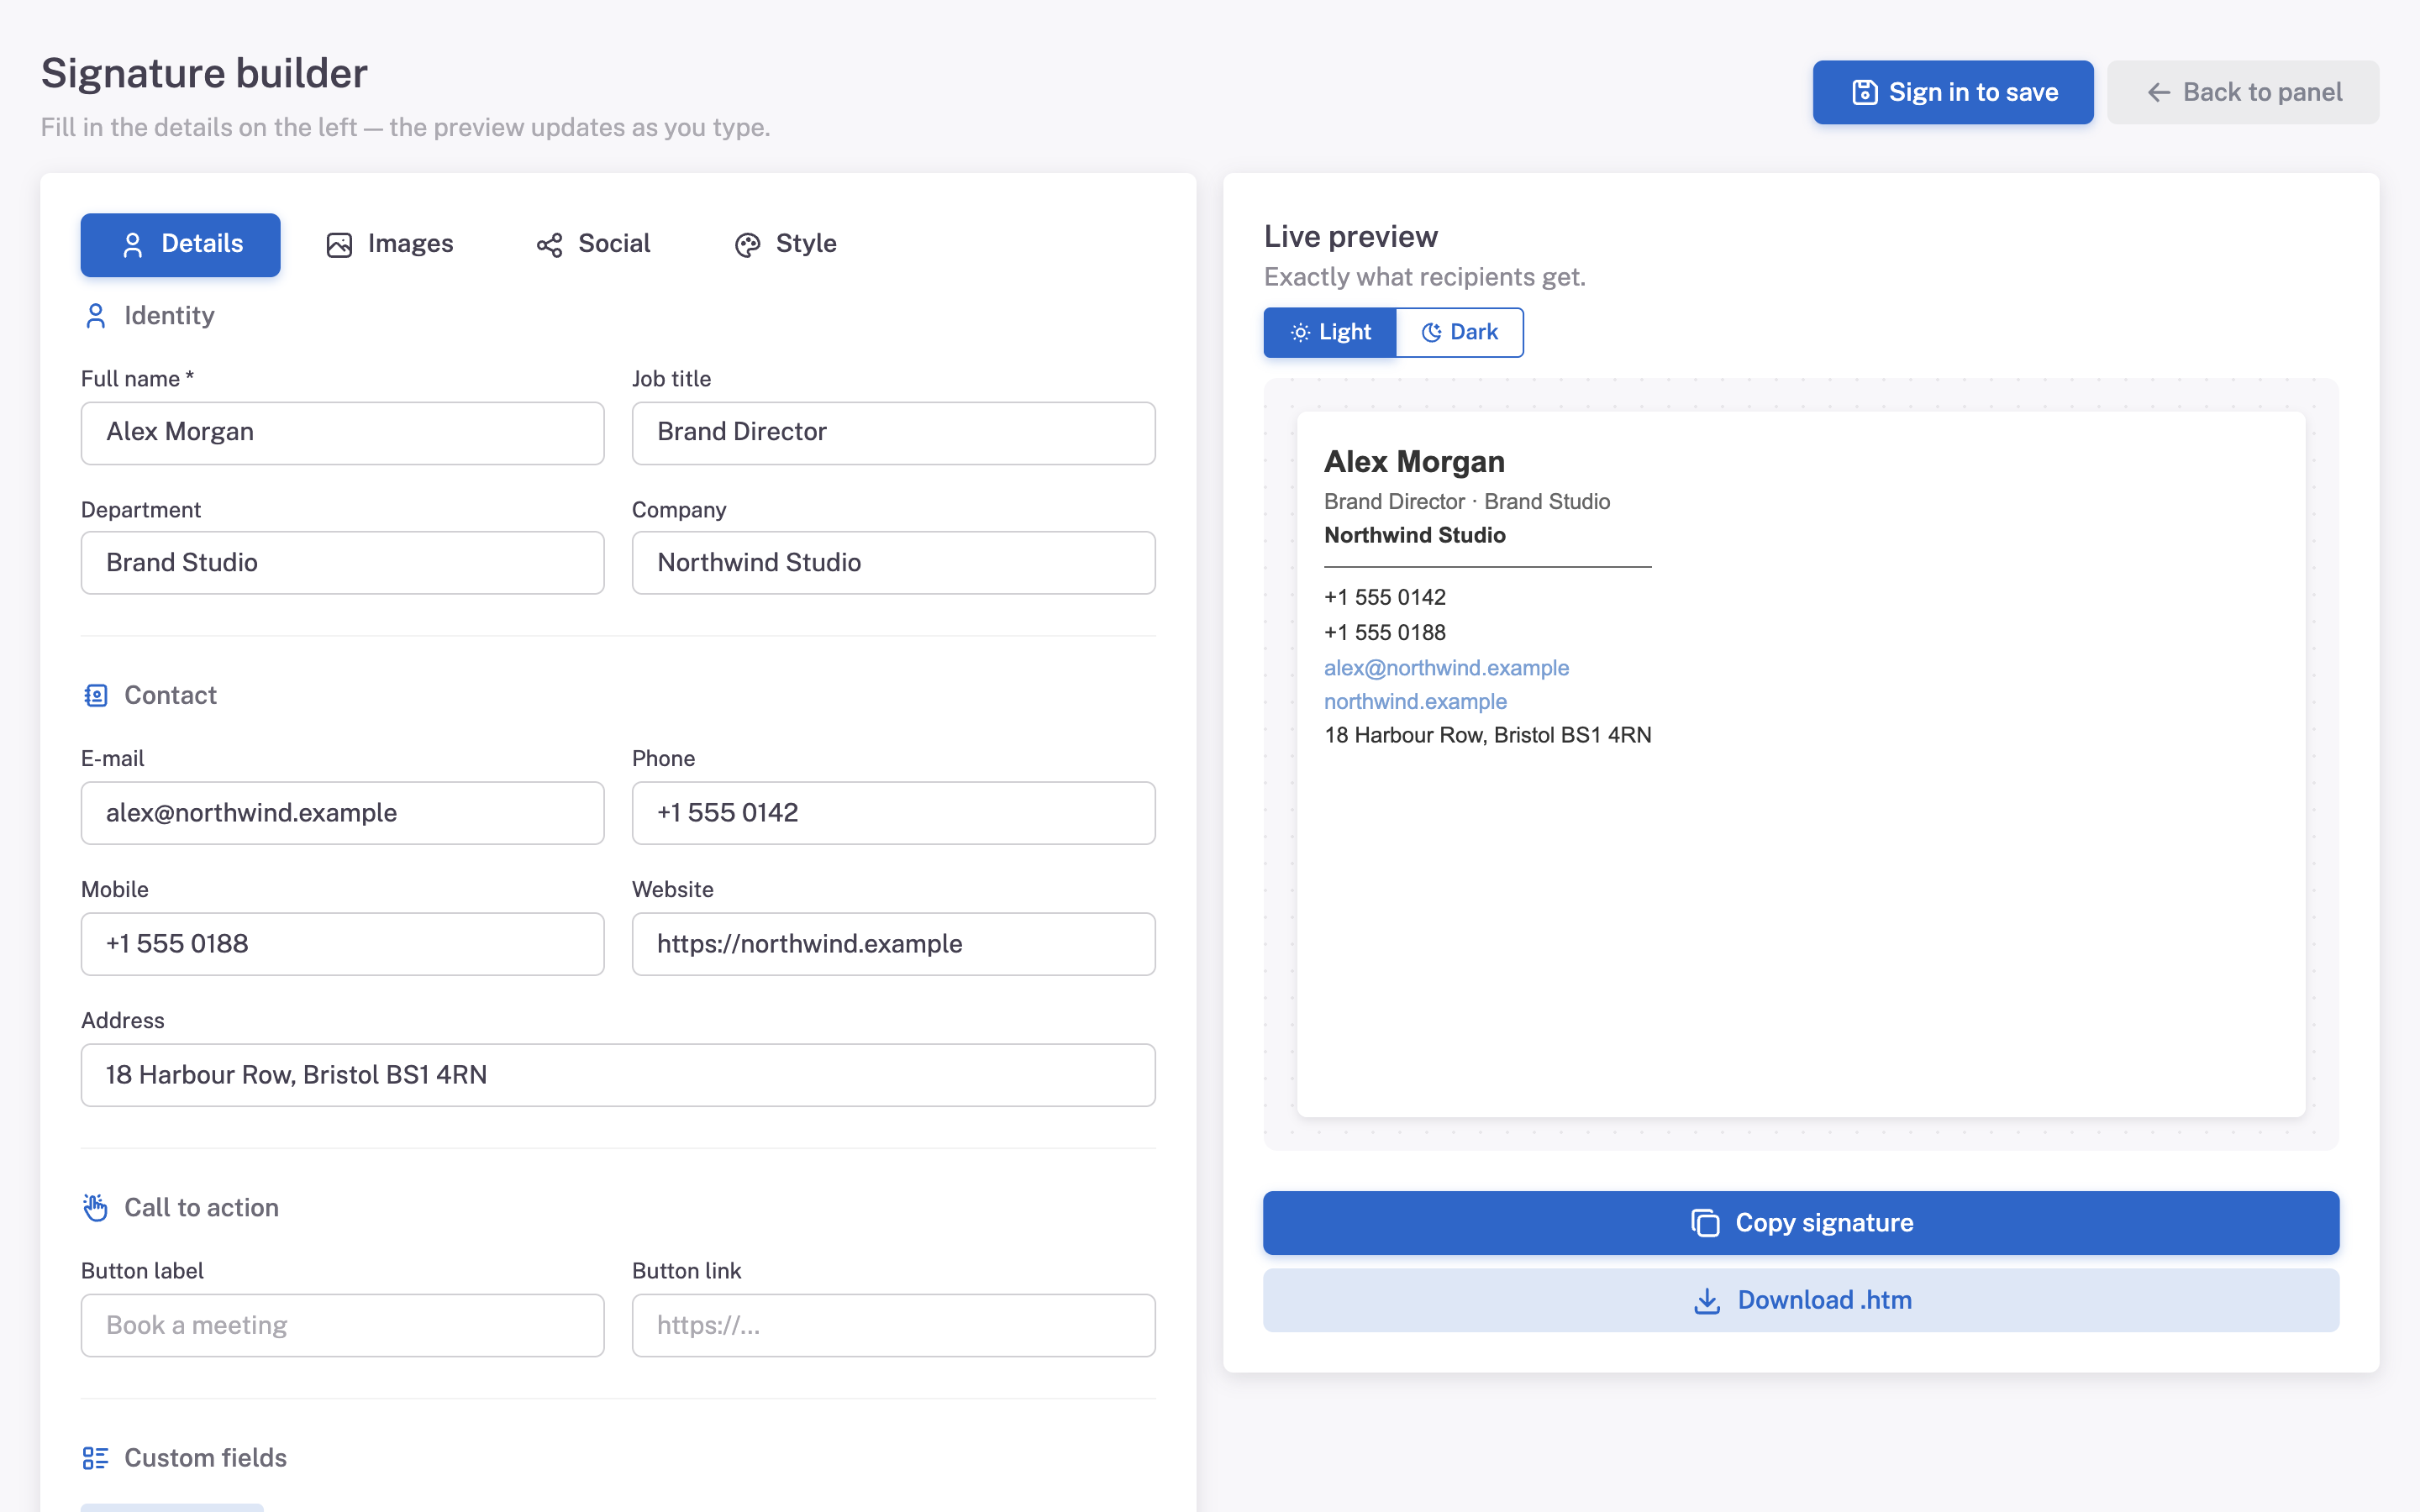
Copy the signature
In Mailmyra, open the signature in the builder (Signatures → Edit in builder) and press Copy signature.
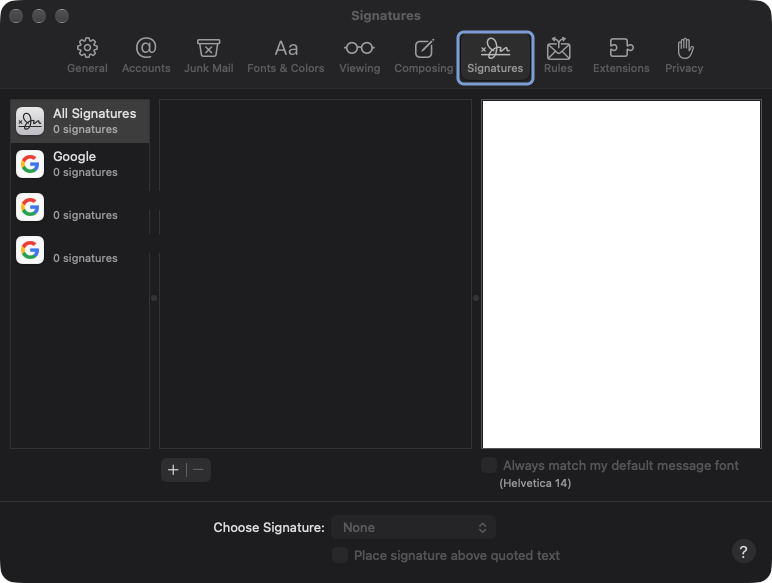
Open the signature settings
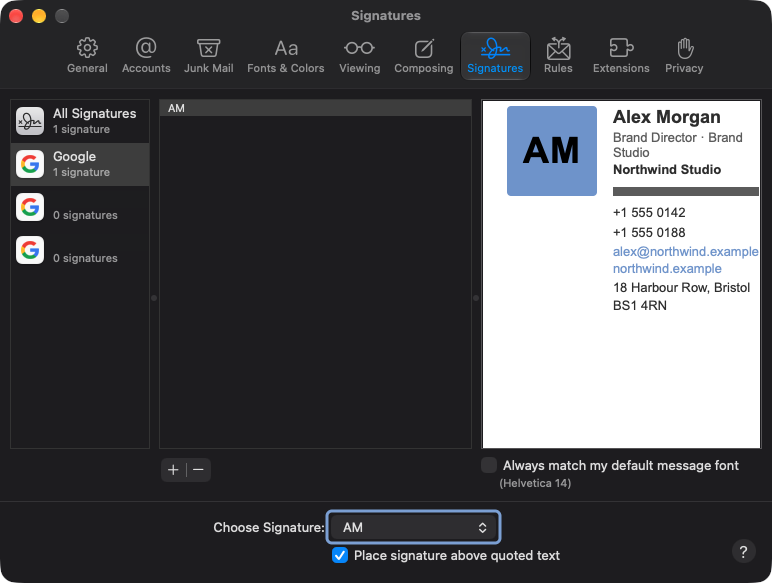
In the menu bar: Mail → Settings → Signatures.
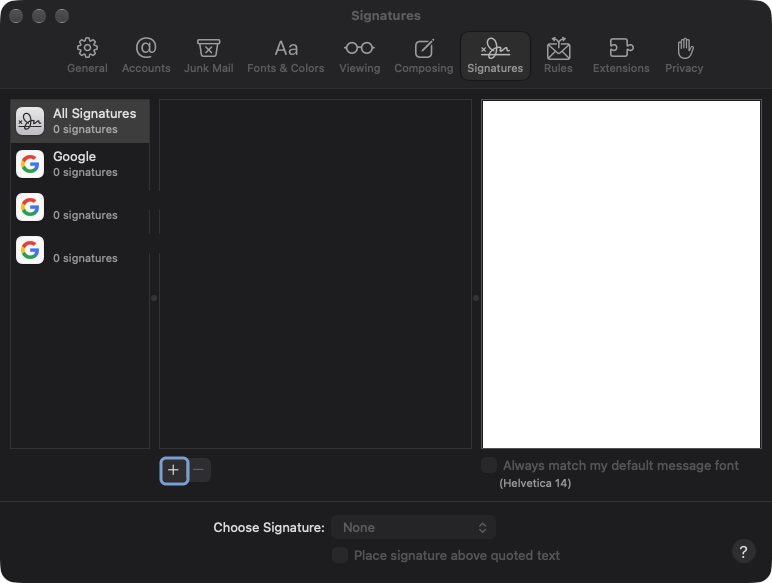
Pick the account and add one
Select your account on the left, then press + to create a signature.
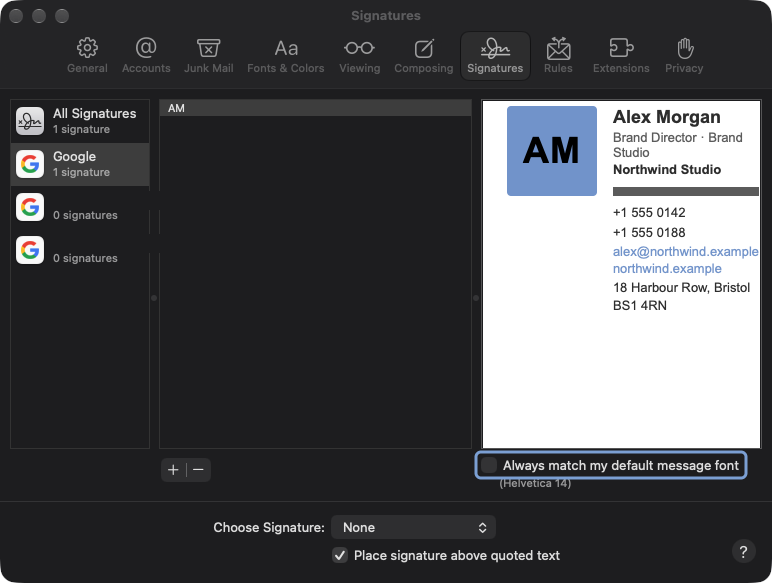
Paste it in
Clear the placeholder text, then paste with Cmd + V. Untick Always match my default message font.
Assign and test
Choose the signature under Choose Signature for that account, then send yourself a message.
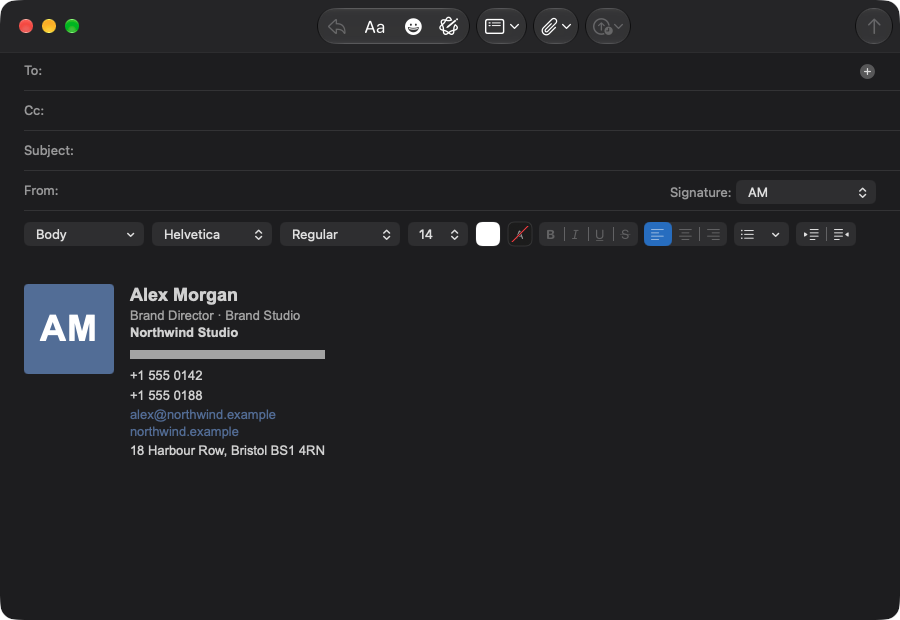
What it should
look like.
Type stays at the sizes you set, the logo keeps its shape and the layout holds on a Retina screen.
- Fonts all look the same “Always match my default message font” is still ticked. Untick it and paste again.
- The logo disappears in dark mode A fully transparent PNG blends into the dark background. Upload a logo that carries its own padding and a light plate behind the mark.
- Images did not come through Paste directly from Mailmyra. Passing the signature through another editor first strips remote images.
The friendliest engine, with two catches
The engine
Apple Mail uses WebKit, so it renders close to what you see in a browser.
What we do
We keep image assets at 2x for Retina and treat dark mode as a design case, not an accident.
Asked about
Apple Mail.
Does this cover iPhone too?
No. iOS Mail keeps its own signature. There is a separate guide for it.
Can I have one per account?
Yes, that is exactly how Apple Mail stores them.
What about older macOS versions?
The steps are the same; only the menu name changed from Preferences to Settings.